
Impatient Person’s Sourdough
Rudimentary Bread Ratios
…Ratios of the four ingredients provided by a wise, French friend, and used for this recipe
100g flour
75g water
≈ 2g salt
≈ 1.2g yeast it is, the way you tell your story online can make all the difference.
Notes:
Under normal circumstances, a “sourdough starter” is used - that takes days to make. Ain’t nobody got time for that.
This technique skips to the end with the hope of some interim fermentation over 24 hours.
The more sticky & tacky the dough, the more moist and airy the result
Baking “slow and low” makes the bread tough (according to that French friend)
Tough, hard crust, with a moist airy inside, are the traits desired in this recipe
Kitchen Needs:
Large mixing bowl
Kitchen aid mixer or strong arm
Damp dish cloth
Dutch oven, or iron skillet with a lid that can be put in oven)
Ingredients:
(single recipe) - Imperial measurements
2.5 cups flour (600g) - King Arthur Unbleached Bread
2 cups water (450g)
2 teaspoon salt (12g) salt
1 packet yeast - 2 teaspoon (7g)
Directions:
Prep Yeast
In warm water, (amount subtracted from total, necessary volume), add yeast
Stir and let sit for a few minutes to activate and bubble
In Kitchen-Aid Mixer:
Set to #2 speed with bread dough spinner attachment
Slowly mix in small amounts of flour, water, yeast and salt each ingredient while running
Dough should be wet and tacky
In a large, wide mixing bowl:
Sprinkle a bit of flour at the bottom
Pour in the bread dough
Cover the mixing bowl with a damp dish cloth
Let dough on the counter at room temperature for 1 hour (dough will rise)
Stretch & Fold sessions:
(Necessary for sourdough consistency)
Every 30 minutes, for the next 2 hours (4 sessions)
Sprinkle a bit of flour on the dough
Pull and stretch the dough evenly out to the side
Fold the dough back over the top
Rotate the bowl 90°, pull and stretch the dough again
Do this (4) times for the full 360°
Re-cover the dough
Wait 30 minutes and repeat the process
After the last session, cover and refrigerate 18-24 hours
This process will allow some time for the dough to “ferment” and taste somewhat like sourdough
NOTE: The wise, French friend says that at any stage of this process, the dough can be frozen for use at a later time.
(Next day)
Preheat oven to 475° F with Dutch oven inside
Add some flour to a cutting board or countertop
“Shape the boule” (or bread round) - see video
Oven and Dutch Oven Ready?
NOTE: Making shallow slices on the top of the dough is necessary for some reason (if you want it to look like bread when finished, mostly… I think)
(Do this quickly) Remove the Dutch oven from the oven
(optional) spray with non-stick spray - should not need it
Add dough to Dutch oven
Make several incisions across the top of the dough
HINT: Use scissors - works great! (tried the sharpest knives in the kitchen and a straight razor.. nope)
Baking:
Reduce oven temp from 475° to 450°F
Place the covered Dutch oven (with the top on) in center of the oven
Bake for 20 minutes
Remove the top of Dutch oven
Bake for ≈15 more minutes, or until the top of the loaf is as brown as desired
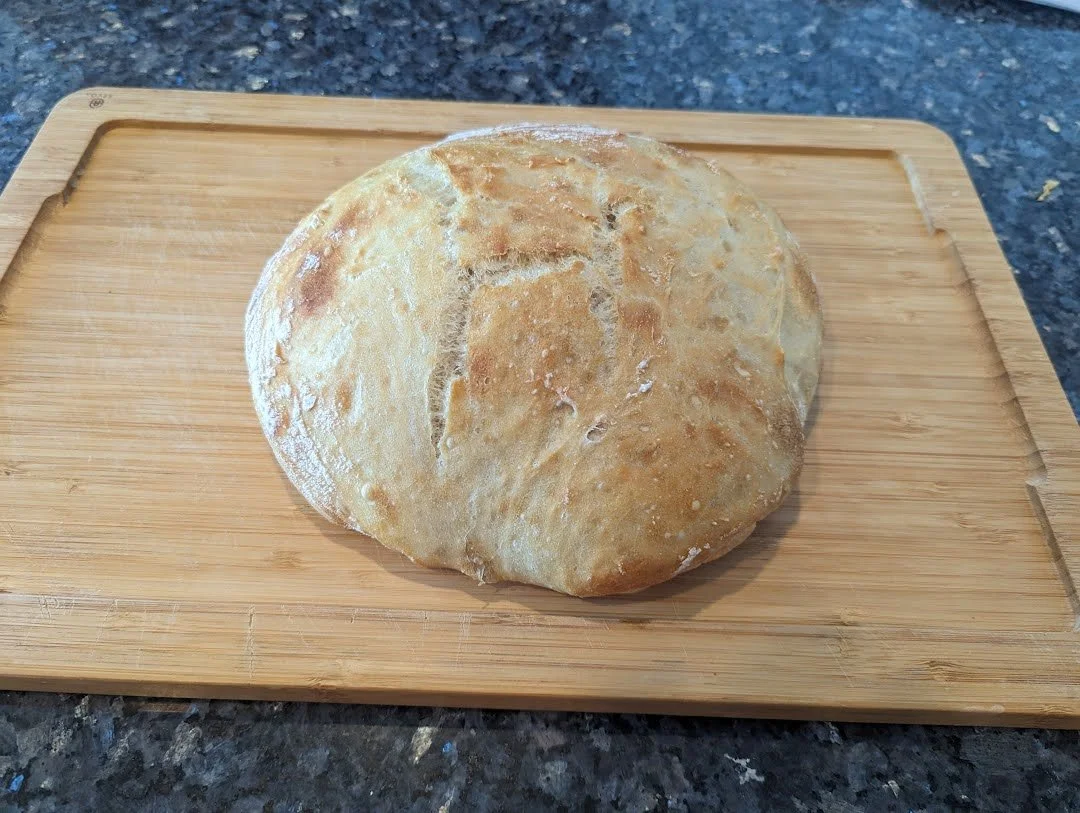
Behold!
NOTE: When removed from the oven, the bread should easily fall out of the Dutch oven.
Do not let it cool. Share and devour immediately (only with those at home with you) and then wonder about all the other ways it could have been enjoyed, foods it would pair well with, or the other friends or family who might also enjoy - someday.